📚 Building a Production AI Application with Tecton
Click this button to open this tutorial in Google Colab and get started with zero setup:
Sign-up at tecton.ai/explore for a free account that lets you try out this tutorial and explore Tecton's Web UI.
Tecton helps you build and productionize real-time ML models by making it easy to define, test, and deploy features for training and serving.
Let’s see how quickly we can build a real-time fraud detection model and bring it online.
In this tutorial we will:
- Connect to data on S3
- Define and test features
- Generate a training dataset and train a model
- Productionize our features for real-time serving
- Run real-time inference to predict fraudulent transactions
This tutorial is expected to take about 30 minutes (record time for building a real-time ML application 😎).
Most of this tutorial is intended to be run in a notebook. Some steps will explicitly note to run commands in your terminal.
⚙️ Install Pre-Reqs
First things first, let's install the Tecton SDK and other libraries used by this tutorial (we recommend in a virtual environment) using:
!pip install 'tecton[rift]==0.9.0' gcsfs s3fs scikit-learn -q
✅ Log in to Tecton
Next we will authenticate with your organization's Tecton account.
For users that just signed up via explore.tecton.ai you can leave this step as
is. If your organization has its own Tecton account, replace explore.tecton.ai
with your account url.
Note: You need to press enter after pasting in your authentication code.
import tecton

tecton.login("explore.tecton.ai")  # replace with your URL
Let's then run some basic imports and setup that we will use later in the tutorial.
from tecton import Entity, BatchSource, FileConfig, batch_feature_view, Aggregation
from tecton.types import Field, String, Timestamp, Float64
from datetime import datetime, timedelta

tecton.set_validation_mode("auto")
tecton.conf.set("TECTON_OFFLINE_RETRIEVAL_COMPUTE_MODE", "rift")
Now we're ready to build!
🔎 Examine raw data
First let's examine some historical transaction data that we have available on S3.
import pandas as pd

transactions_df = pd.read_parquet("s3://tecton.ai.public/tutorials/transactions.pq", storage_options={"anon": True})

display(transactions_df.head(5))
| timestamp | user_id | transaction_id | merchant | merch_lat | merch_long | amount | |
|---|---|---|---|---|---|---|---|
| 0 | 2021-01-01 00:12:17.950882 | user_7342348753 | df2d61fff650bc36569ab670587e63f1 | Lulu's | -69.4247360 | -121.575701 | 732.27 |
| 1 | 2021-01-01 00:14:23.411801 | user_5436822157 | 496cb3f422558c4c38f314de0de0b1dd | Camelot Music | 31.7865990 | 75.024895 | 56.14 |
| 2 | 2021-01-01 00:16:39.189817 | user_8080551036 | 36fade390801962b59d77450075b4f28 | Ernst | 50.7420510 | 125.977939 | 514.87 |
| 3 | 2021-01-01 00:41:32.604106 | user_6906984756 | e2e2f26c39ecb634d3d28e7c009e93aa | EG Group | 56.3064050 | -59.094746 | 43.85 |
| 4 | 2021-01-01 00:45:22.095249 | user_7171471634 | 1f6d4225dc6ae8d02f3674c687c0f1cf | Younkers | -81.8907620 | 82.762924 | 50.74 |
👩💻 Define and test features locally
In our data, we see that there's information on users' transactions over time.
Let's use this data to create the following features:
- A user's average transaction amount over 1, 3, and 7 days.
- A user's total transaction count over 1, 3, and 7 days.
To build these features, we will define a "Batch Source" and "Batch Feature View" using Tecton's Feature Engineering Framework.
A Feature View is how we define our feature logic and give Tecton the information it needs to productionize, monitor, and manage features.
Tecton's development workflow allows you to build and test features, as well as generate training data entirely in a notebook! Let's try it out.
transactions = BatchSource(
    name="transactions",
    batch_config=FileConfig(
        uri="s3://tecton.ai.public/tutorials/transactions.pq",
        file_format="parquet",
        timestamp_field="timestamp",
    ),
)

# An entity defines the concept we are modeling features for
# The join keys will be used to aggregate, join, and retrieve features
user = Entity(name="user", join_keys=["user_id"])

# We use Pandas to transform the raw data and Tecton aggregations to efficiently and accurately compute metrics across raw events
# Feature View decorators contain a wide range of parameters for materializing, cataloging, and monitoring features
@batch_feature_view(
    description="User transaction metrics over 1, 3 and 7 days",
    sources=[transactions],
    entities=[user],
    mode="pandas",
    aggregation_interval=timedelta(days=1),
    aggregations=[
        Aggregation(function="mean", column="amount", time_window=timedelta(days=1)),
        Aggregation(function="mean", column="amount", time_window=timedelta(days=3)),
        Aggregation(function="mean", column="amount", time_window=timedelta(days=7)),
        Aggregation(function="count", column="amount", time_window=timedelta(days=1)),
        Aggregation(function="count", column="amount", time_window=timedelta(days=3)),
        Aggregation(function="count", column="amount", time_window=timedelta(days=7)),
    ],
    schema=[Field("user_id", String), Field("timestamp", Timestamp), Field("amount", Float64)],
)
def user_transaction_metrics(transactions):
    return transactions[["user_id", "timestamp", "amount"]]
🧪 Test features interactively
Now that we've defined our Feature View, we can use get_features_in_range to
produce a range of feature values and check out the data.
start = datetime(2022, 1, 1)
end = datetime(2022, 2, 1)

df = user_transaction_metrics.get_features_in_range(start_time=start, end_time=end).to_pandas()

display(df.head(5))
| index | user_id | amount_mean_1d_1d | amount_mean_3d_1d | amount_mean_7d_1d | amount_count_1d_1d | amount_count_3d_1d | amount_count_7d_1d | _valid_to | _valid_from |
|---|---|---|---|---|---|---|---|---|---|
| 0 | user_1376786590 | 89.22 | 89.22 | 89.22 | 1 | 1 | 1 | 2022-01-09 00:00:00 | 2022-01-08 00:00:00 |
| 1 | user_1473958323 | 5.47 | 5.47 | 5.47 | 1 | 1 | 1 | 2022-01-24 00:00:00 | 2022-01-23 00:00:00 |
| 2 | user_1706536857 | 49.12 | 49.12 | 41.95 | 1 | 1 | 2 | 2022-01-16 00:00:00 | 2022-01-15 00:00:00 |
| 3 | user_2418695866 | 59.2 | 59.2 | 308.67 | 1 | 1 | 2 | 2022-01-27 00:00:00 | 2022-01-26 00:00:00 |
| 4 | user_2591596648 | 70.16 | 70.16 | 70.16 | 1 | 1 | 1 | 2022-01-23 00:00:00 | 2022-01-22 00:00:00 |
For more information about the output schema, see Offline Retrieval Methods and Feature Naming.
🧮 Generate training data
We'll build our training dataset from labeled historical transactions and try to predict the "is_fraud" column for a given transaction.
First, let's load our label dataset, which indicates whether a transaction in our historical dataset was fraudulent.
training_labels = pd.read_parquet("s3://tecton.ai.public/tutorials/labels.pq", storage_options={"anon": True})
display(training_labels.head(5))
| index | transaction_id | is_fraud |
|---|---|---|
| 0 | df2d61fff650bc36569ab670587e63f1 | 0 |
| 1 | 496cb3f422558c4c38f314de0de0b1dd | 0 |
| 2 | 36fade390801962b59d77450075b4f28 | 0 |
| 3 | e2e2f26c39ecb634d3d28e7c009e93aa | 0 |
| 4 | 1f6d4225dc6ae8d02f3674c687c0f1cf | 0 |
Let's join our transactions dataset to our label dataset (on the
transaction_id column) to produce a set of training events we'll then use to
generate our training data.
training_events = training_labels.merge(transactions_df, on=["transaction_id"], how="left")[
    ["user_id", "timestamp", "amount", "is_fraud"]
]
display(training_events.head(5))
| index | user_id | timestamp | is_fraud | amount |
|---|---|---|---|---|
| 0 | user_7342348753 | 2021-01-01 00:12:17.950882 | 0 | 732.27 |
| 1 | user_5436822157 | 2021-01-01 00:14:23.411801 | 0 | 56.14 |
| 2 | user_8080551036 | 2021-01-01 00:16:39.189817 | 0 | 514.87 |
| 3 | user_6906984756 | 2021-01-01 00:41:32.604106 | 0 | 43.85 |
| 4 | user_7171471634 | 2021-01-01 00:45:22.095249 | 0 | 50.74 |
Next, let's ask Tecton to join the features we just created into our labeled events. Tecton will perform a time travel join to fetch point-in-time correct feature values.
To do this we will create a "Feature Service" which defines the list of features that will be used by our model.
We can call get_features_for_events(training_events) on the Feature Service to
get historically accurate features for each event.
from tecton import FeatureService

fraud_detection_feature_service = FeatureService(
    name="fraud_detection_feature_service", features=[user_transaction_metrics]
)

training_data = fraud_detection_feature_service.get_features_for_events(training_events).to_pandas().fillna(0)
display(training_data.sample(5))
| index | user_id | timestamp | is_fraud | amount | user_transaction_metrics__amount_mean_7d_1d | user_transaction_metrics__amount_mean_1d_1d | user_transaction_metrics__amount_count_3d_1d | user_transaction_metrics__amount_mean_3d_1d | user_transaction_metrics__amount_count_7d_1d | user_transaction_metrics__amount_count_1d_1d |
|---|---|---|---|---|---|---|---|---|---|---|
| 0 | user_1028747636 | 2021-01-03 08:42:43.668406 | 0 | 77.09 | 0.0 | 0.0 | 0 | 0.0 | 0 | 0 |
| 1 | user_1155940157 | 2021-01-21 03:27:42.566411 | 0 | 43.01 | 0.0 | 0.0 | 0 | 0.0 | 0 | 0 |
| 2 | user_1567708646 | 2021-01-20 13:57:14.832615 | 0 | 536.1 | 0.0 | 0.0 | 0 | 0.0 | 0 | 0 |
| 3 | user_1567708646 | 2021-01-21 18:13:41.535067 | 0 | 72.16 | 0.0 | 0.0 | 0 | 0.0 | 0 | 0 |
| 4 | user_1755385063 | 2021-01-05 04:19:08.782106 | 0 | 96.84 | 0.0 | 0.0 | 0 | 0.0 | 0 | 0 |
🧠 Train a model
Once we have our training data set from Tecton, we can use whatever framework we want for training the model.
In the example below, we'll train a simple Logistic Regression model using sklearn!
from sklearn.pipeline import make_pipeline
from sklearn.impute import SimpleImputer
from sklearn.preprocessing import OneHotEncoder, StandardScaler
from sklearn.compose import ColumnTransformer
from sklearn.linear_model import LogisticRegression
from sklearn.model_selection import train_test_split
from sklearn import metrics


df = training_data.drop(["user_id", "timestamp", "amount"], axis=1)

X = df.drop("is_fraud", axis=1)
y = df["is_fraud"]

X_train, X_test, y_train, y_test = train_test_split(X, y, test_size=0.3, random_state=42)

num_cols = X_train.select_dtypes(exclude=["object"]).columns.tolist()
cat_cols = X_train.select_dtypes(include=["object"]).columns.tolist()

num_pipe = make_pipeline(SimpleImputer(strategy="median"), StandardScaler())

cat_pipe = make_pipeline(
    SimpleImputer(strategy="constant", fill_value="N/A"), OneHotEncoder(handle_unknown="ignore", sparse_output=False)
)

full_pipe = ColumnTransformer([("num", num_pipe, num_cols), ("cat", cat_pipe, cat_cols)])

model = make_pipeline(full_pipe, LogisticRegression(max_iter=1000, random_state=42))

model.fit(X_train, y_train)

y_predict = model.predict(X_test)

print(metrics.classification_report(y_test, y_predict, zero_division=0))
| precision | recall | f1-score | support | |
|---|---|---|---|---|
| 0 | 0.93 | 0.99 | 0.96 | 27076 |
| 1 | 0.82 | 0.30 | 0.44 | 2924 |
| accuracy | 0.93 | 30000 | ||
| macro avg | 0.87 | 0.65 | 0.70 | 30000 |
| weighted avg | 0.92 | 0.93 | 0.91 | 30000 |
Of course, you can continue iterating on features and retraining your model until you are ready to productionize.
🚀 Apply your Tecton application to production
Tecton objects get registered via a declarative workflow. Features are defined as code in a repo and applied to a workspace in a Tecton account using the Tecton CLI. A workspace is like a project for your team or org and corresponds to a single feature repository.
This declarative workflow enables productionization best practices such as "features as code," CI/CD, and unit testing.
This section requires your organization to have its own Tecton account. But
don't fret! If you are a user of explore.tecton.ai, we've done these steps for
you. You can read through it and continue with the rest of the tutorial, picking
back up at the "Check on backfilling status" section below.
If you want to productionize your own features with your own data, you can sign up for an unrestricted free trial at tecton.ai/free-trial.
1. Create a Tecton Feature Repository
Let's switch over from our notebook to a terminal and create a new Tecton Feature Repository. For now we will put all our definitions in a single file.
✅ Run these commands to create a new Tecton repo.
mkdir tecton-feature-repo
cd tecton-feature-repo
touch features.py
tecton init
2. Fill in features.py and enable materialization
✅ Now copy & paste the definition of the Tecton objects you created in your
notebook to features.py (copied below).
On our Feature View we've added four parameters to enable backfilling and ongoing materialization to the offline and online Feature Store:
online=Trueoffline=Truefeature_start_time=datetime(2020,1,1)batch_schedule=timedelta(days=1)
The offline and online Feature Stores are used for storing and serving feature values for training and inference. For more information, check out Tecton Concepts.
When we apply our changes to a
Live Workspace, Tecton will
automatically kick off jobs to backfill feature data from feature_start_time.
Frontfill jobs will then run on the defined batch_schedule.
Besides the new materialization parameters, the code below is exactly the same as our definitions above. No changes are required when moving from interactive development to productionization!
features.py
from tecton import Entity, BatchSource, FileConfig, batch_feature_view, Aggregation, FeatureService
from tecton.types import Field, String, Timestamp, Float64
from datetime import datetime, timedelta


transactions = BatchSource(
    name="transactions",
    batch_config=FileConfig(
        uri="s3://tecton.ai.public/tutorials/transactions.pq",
        file_format="parquet",
        timestamp_field="timestamp",
    ),
)

# An entity defines the concept we are modeling features for
# The join keys will be used to aggregate, join, and retrieve features
user = Entity(name="user", join_keys=["user_id"])

# We use Pandas to transform the raw data and Tecton aggregations to efficiently and accurately compute metrics across raw events
# Feature View decorators contain a wide range of parameters for materializing, cataloging, and monitoring features
@batch_feature_view(
    description="User transaction metrics over 1, 3 and 7 days",
    sources=[transactions],
    entities=[user],
    mode="pandas",
    aggregation_interval=timedelta(days=1),
    aggregations=[
        Aggregation(function="mean", column="amount", time_window=timedelta(days=1)),
        Aggregation(function="mean", column="amount", time_window=timedelta(days=3)),
        Aggregation(function="mean", column="amount", time_window=timedelta(days=7)),
        Aggregation(function="count", column="amount", time_window=timedelta(days=1)),
        Aggregation(function="count", column="amount", time_window=timedelta(days=3)),
        Aggregation(function="count", column="amount", time_window=timedelta(days=7)),
    ],
    schema=[Field("user_id", String), Field("timestamp", Timestamp), Field("amount", Float64)],
    online=True,
    offline=True,
    feature_start_time=datetime(2020, 1, 1),
    batch_schedule=timedelta(days=1),
)
def user_transaction_metrics(transactions):
    return transactions[["user_id", "timestamp", "amount"]]


fraud_detection_feature_service = FeatureService(
    name="fraud_detection_feature_service", features=[user_transaction_metrics]
)
3. Apply your changes to a new workspace
Our last step is to login to your organization's Tecton account and apply our repo to a workspace!
✅ Run the following commands in your terminal to create a workspace and apply your changes:
tecton login [your-org-account-name].tecton.ai
tecton workspace create [your-name]-quickstart --live
tecton apply
Using workspace "[your-name]-quickstart" on cluster https://explore.tecton.ai
✅ Imported 1 Python module from the feature repository
✅ Imported 1 Python module from the feature repository
⚠️  Running Tests: No tests found.
✅ Collecting local feature declarations
✅ Performing server-side feature validation: Initializing.
 ↓↓↓↓↓↓↓↓↓↓↓↓ Plan Start ↓↓↓↓↓↓↓↓↓↓

  + Create Batch Data Source
    name:           transactions

  + Create Entity
    name:           user

  + Create Transformation
    name:           user_transaction_metrics
    description:    Trailing average transaction amount over 1, 3 and 7 days

  + Create Batch Feature View
    name:           user_transaction_metrics
    description:    Trailing average transaction amount over 1, 3 and 7 days
    materialization: 11 backfills, 1 recurring batch job
    > backfill:     10 Backfill jobs 2020-01-01 00:00:00 UTC to 2023-08-16 00:00:00 UTC writing to the Offline Store
                    1 Backfill job 2023-08-16 00:00:00 UTC to 2023-08-23 00:00:00 UTC writing to both the Online and Offline Store
    > incremental:  1 Recurring Batch job scheduled every 1 day writing to both the Online and Offline Store

  + Create Feature Service
    name:           fraud_detection_feature_service

 ↑↑↑↑↑↑↑↑↑↑↑↑ Plan End ↑↑↑↑↑↑↑↑↑↑↑↑
 Generated plan ID is 8d01ad78e3194a5dbd3f934f04d71564
 View your plan in the Web UI: https://explore.tecton.ai/app/[your-name]-quickstart/plan-summary/8d01ad78e3194a5dbd3f934f04d71564
 ⚠️  Objects in plan contain warnings.

Note: Updates to Feature Services may take up to 60 seconds to be propagated to the real-time feature-serving endpoint.
Note: This workspace ([your-name]-quickstart) is a "Live" workspace. Applying this plan may result in new materialization jobs which will incur costs. Carefully examine the plan output before applying changes.
Are you sure you want to apply this plan to: "[your-name]-quickstart"? [y/N]> y
🎉 all done!
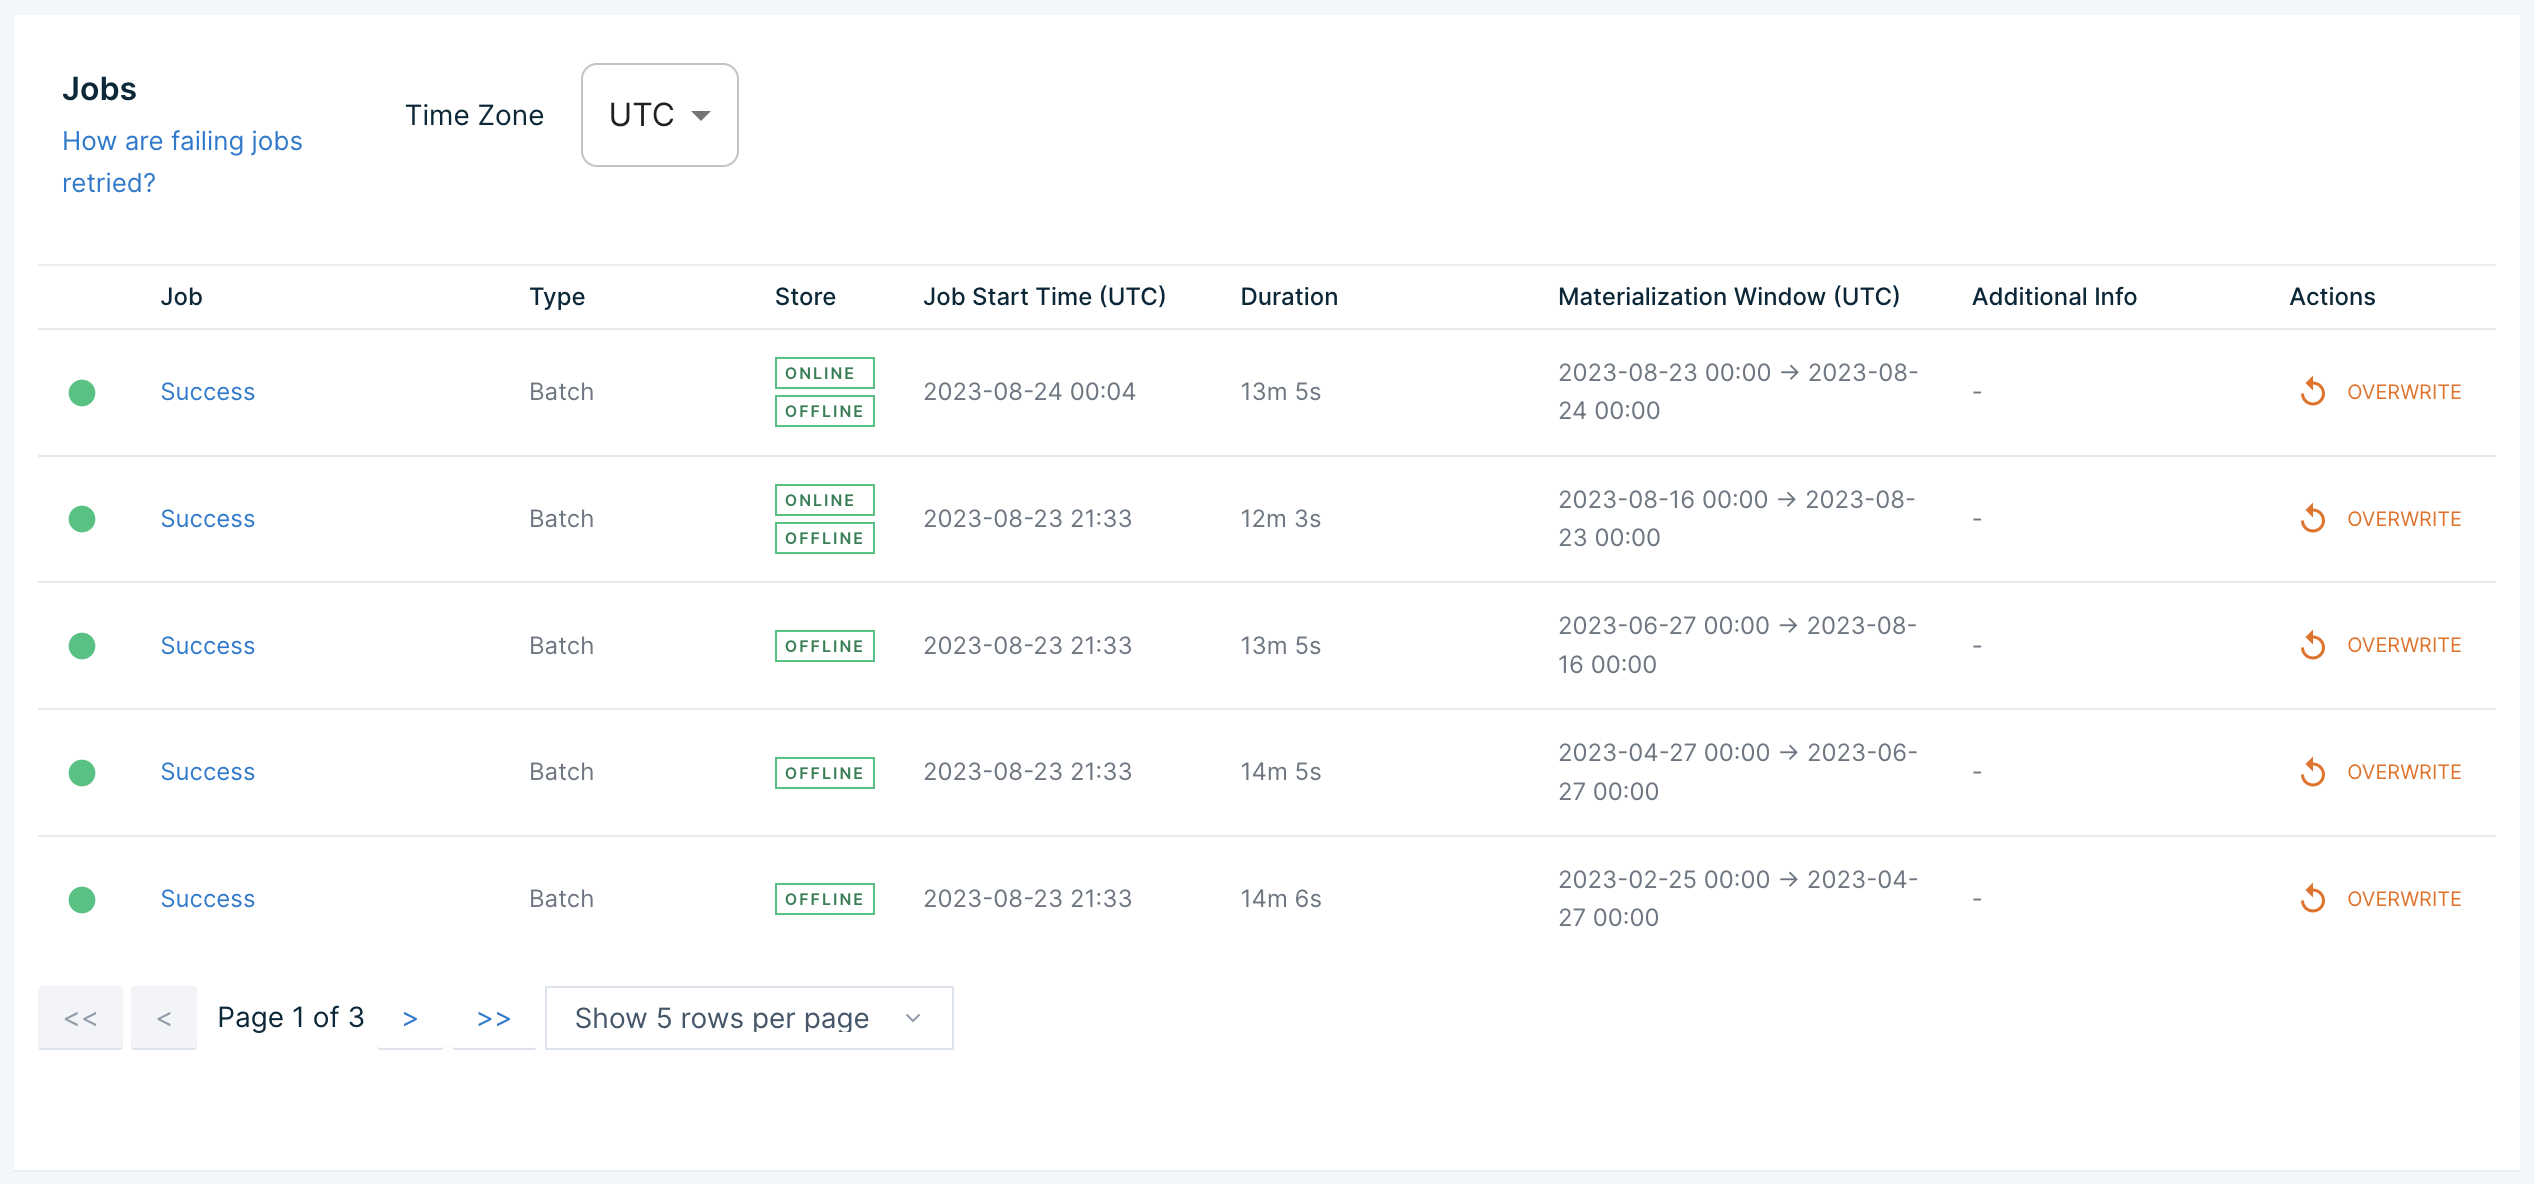
🟢 Check on backfilling status��
Now that we've applied our features to a live workspace and enabled materialization to the online and offline store, we can check on the status of backfill jobs in the Tecton Web UI.
This can be found at the following URL (replace [your-org-account-name] and
[your-workspace-name] with the appropriate values):
https://[your-org-account-name].tecton.ai/app/repo/[your-workspace-name]/features/user_transaction_metrics/materialization
If you are using explore.tecton.ai, the URL will be:
https://explore.tecton.ai/app/repo/prod/features/user_transaction_metrics/materialization
Once the backfill jobs have completed, we can fetch feature values online!
⚡️ Create a function to retrieve features from Tecton's HTTP API
Now let's use Tecton's HTTP API to retrieve features at low latency.
To do this, you will first need to create a new Service Account and give it access to read features from your workspace.
✅ Head to the following URL to create a new service account (replace "explore" with your organization's account name in the URL as necessary). Be sure to save the API key!
✅ If you are using explore.tecton.ai, this account will automatically be
given the necessary privileges to read features from the "prod" workspace.
Otherwise, you should give the service account access to read features from your
newly created workspace by following these steps:
- Navigate to the Service Account page by clicking on your new service account in the list at the URL above
- Click on "Assign Workspace Access"
- Select your workspace and give the service account the "Consumer" role
✅ Copy the generated API key into the code snippet below where it says
your-api-key. Also be sure to replace the workspace and account name with your
newly created workspace name and account name if necessary.
import requests, json


def get_online_feature_data(user_id):
    TECTON_API_KEY = "your-api-key"  # replace with your API key
    WORKSPACE_NAME = "prod"  # replace with your new workspace name if needed
    ACCOUNT_URL = "explore.tecton.ai"  # replace with your org account URL if needed

    headers = {"Authorization": "Tecton-key " + TECTON_API_KEY}

    request_data = f"""{{
        "params": {{
            "feature_service_name": "fraud_detection_feature_service",
            "join_key_map": {{"user_id": "{user_id}"}},
            "metadata_options": {{"include_names": true}},
            "workspace_name": "{WORKSPACE_NAME}"
        }}
    }}"""

    online_feature_data = requests.request(
        method="POST",
        headers=headers,
        url=f"https://{ACCOUNT_URL}/api/v1/feature-service/get-features",
        data=request_data,
    )

    online_feature_data_json = json.loads(online_feature_data.text)

    return online_feature_data_json
Now we can use our function to retrieve features at low latency!
user_id = "user_1990251765"

feature_data = get_online_feature_data(user_id)

if "result" not in feature_data:
    print("Error: Either your feature data is not done materializing, or you have an incorrect API key above.")
else:
    print(feature_data["result"])
{'features': [None, 14.64, 12.296666666666667, None, '2', '3']}
💡 Create a function to make a prediction given feature data
Now that we can fetch feature data online, let's create a function that takes a feature vector and runs model inference to get a fraud prediction.
Typically you'd instead use a model serving API that is hosting your model. Here we run inference directly in our notebook for simplicity.
import pandas as pd


def get_prediction_from_model(feature_data):
    columns = [f["name"].replace(".", "__") for f in feature_data["metadata"]["features"]]
    data = [feature_data["result"]["features"]]

    features = pd.DataFrame(data, columns=columns)[X.columns]

    return model.predict(features)[0]
✨ Run inference using features from Tecton
Let's combine these functions and run inference!
We can fetch our online features from Tecton, call our inference function, and get a prediction.
user_id = "user_1990251765"

online_feature_data = get_online_feature_data(user_id)
prediction = get_prediction_from_model(online_feature_data)

print(prediction)
0
🔥 Create a function to evaluate a user transaction and accept or reject it
Our final step is to use our new fraud prediction pipeline to make decisions and take action in our application.
In the function below we use simple business logic to decide whether to accept or reject a transaction based on our predicted fraud score.
def evaluate_transaction(user_id):
    online_feature_data = get_online_feature_data(user_id)
    is_predicted_fraud = get_prediction_from_model(online_feature_data)

    if is_predicted_fraud == 0:
        return "Transaction accepted."
    else:
        return "Transaction denied."
💰 Evaluate a transaction
Put it all together and we have a single online, low-latency decision API for our application. Try it out below!
evaluate_transaction("user_1990251765")
Transaction accepted.
⭐️ Conclusion
In this tutorial, we were able to quickly make an end to end real-time fraud detection application using features built in Tecton.
We tested our features, built training data sets, productionized features with engineering best practices, retrieved features online, and made decisions in real time!
But Tecton can do so much more:
- streaming features
- real-time features
- monitoring
- unit testing
- cataloging and discovery
- access controls
- cost management
- rules engines
...and more.
Next, we recommend checking out our tutorial on building streaming features to learn more about how to infuse your models with real-time data using nothing more than Python!